Template tutorial
This tutorial will walk you through making a limit order template to swap Luna for Astro. It is recommended that you read the from-scratch job example guide so that you understand the basics of the job, condition, and how a swap works with Warp. The following tutorial shows you how to make a template using variables.
Prerequisites
- Follow the Get started guide to set up a Warp account before proceeding.
- Make sure you are connected to your Station wallet and on the testnet network.
Set up the job template
-
Open the Warp app in your browser and connect your wallet.
-
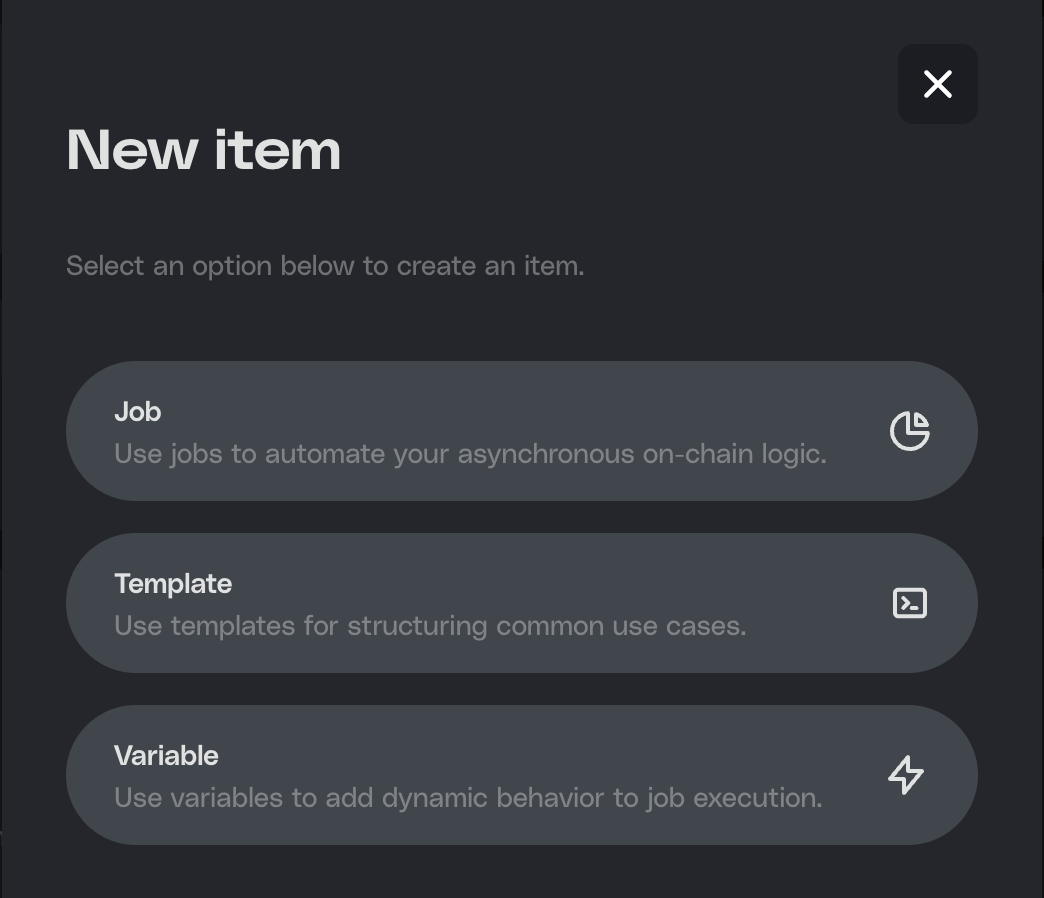
On the left menu, click the "+" symbol to open the creation menu.
-
Select Template.
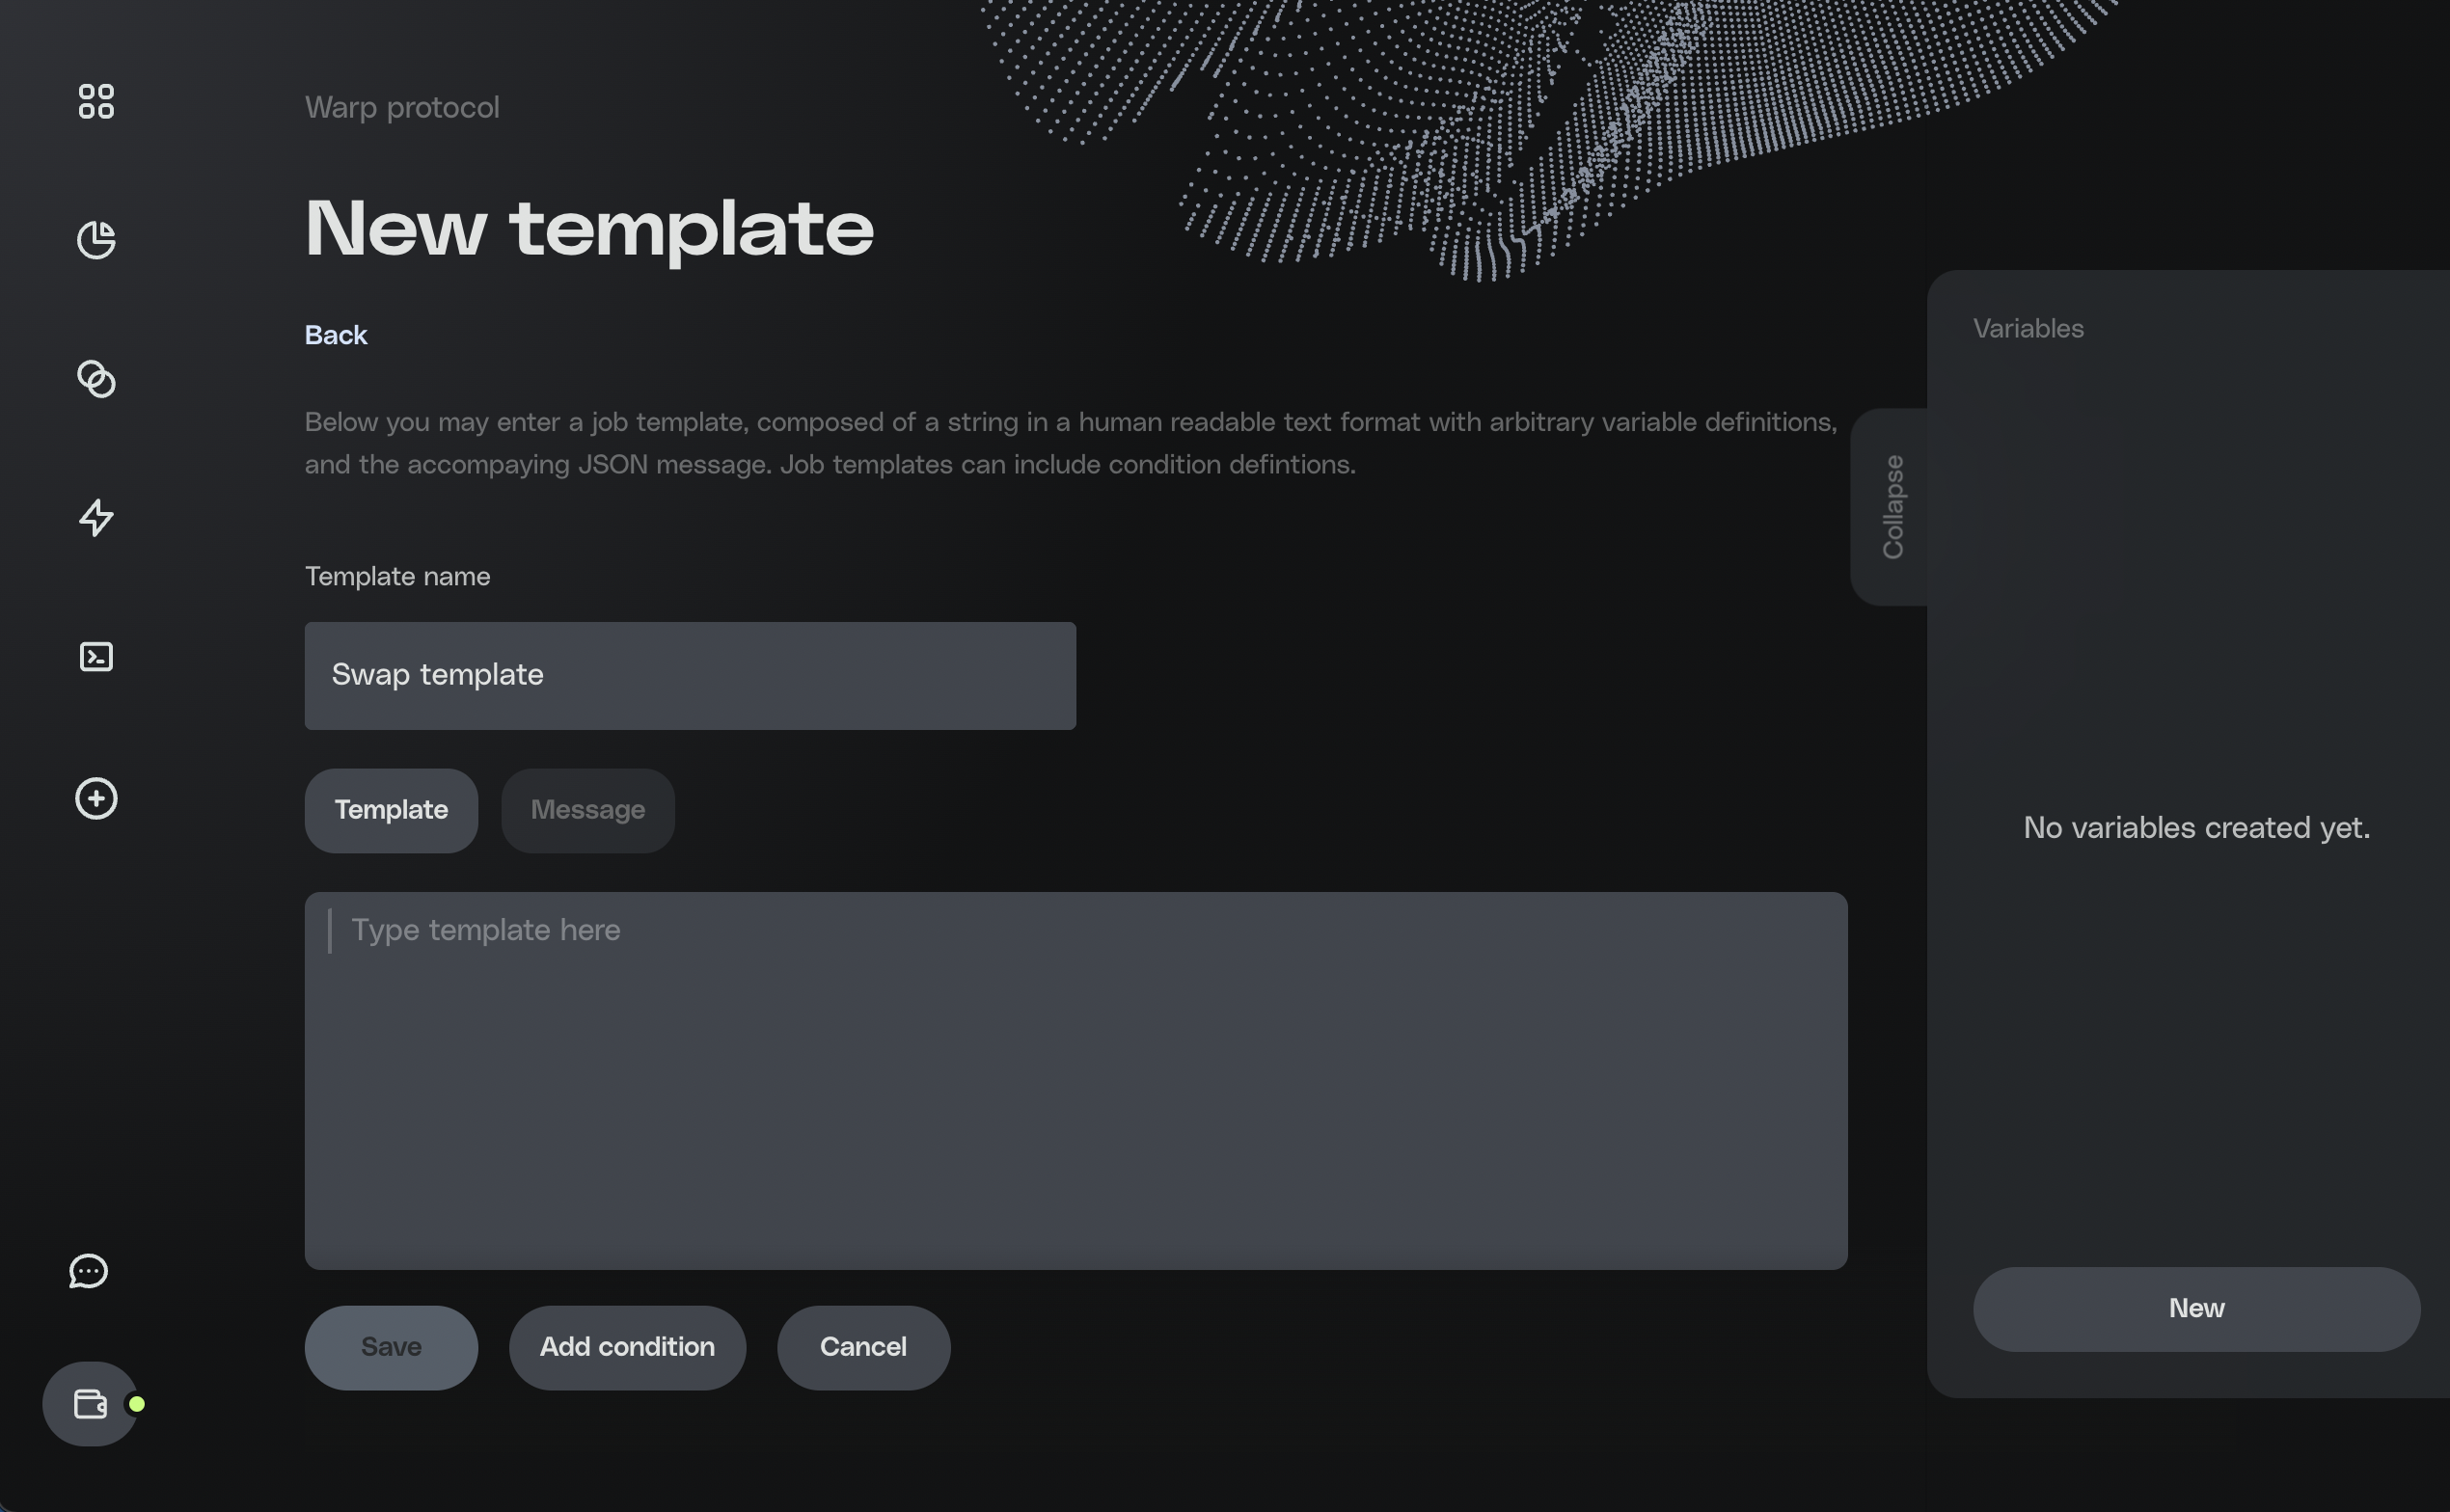
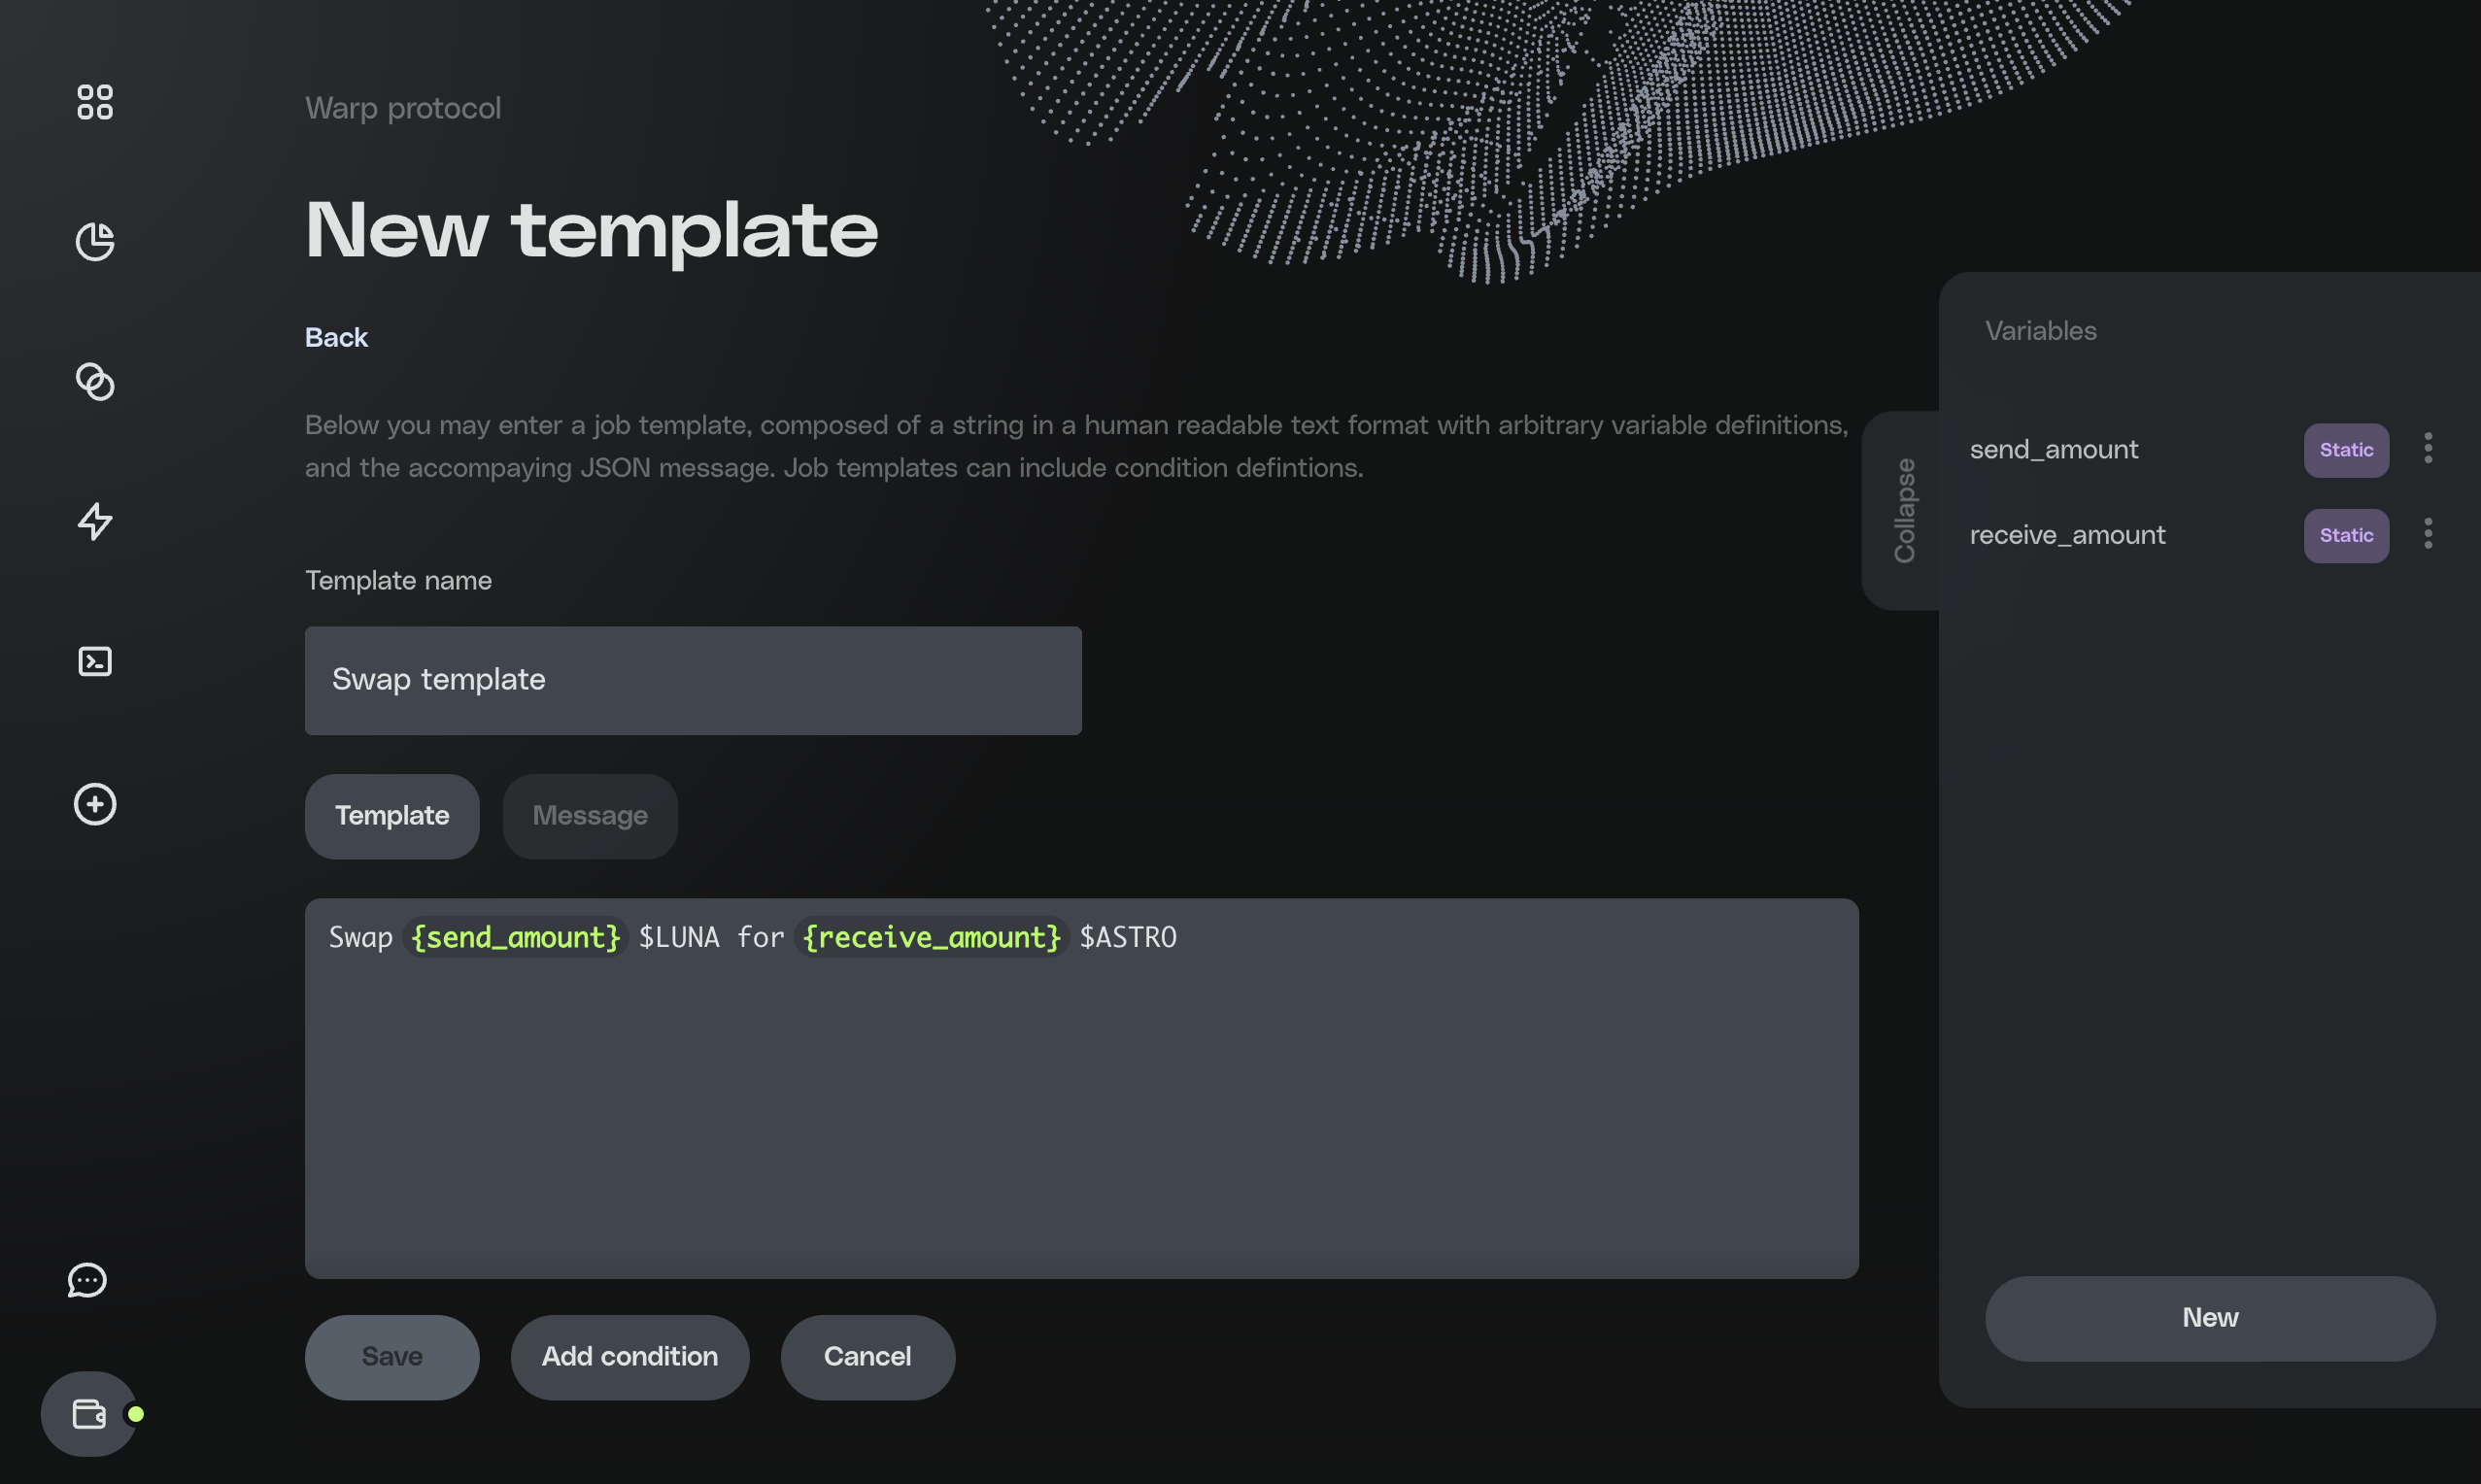
- Enter "Swap template" as your template name. For Template Type, select job.
Create your variables
Similar to variables in programming languages, Warp variables are placeholders for inputs. In this tutorial, you are creating a template to swap Luna for Astro, so your two variables will be send_amount and receive_amount.
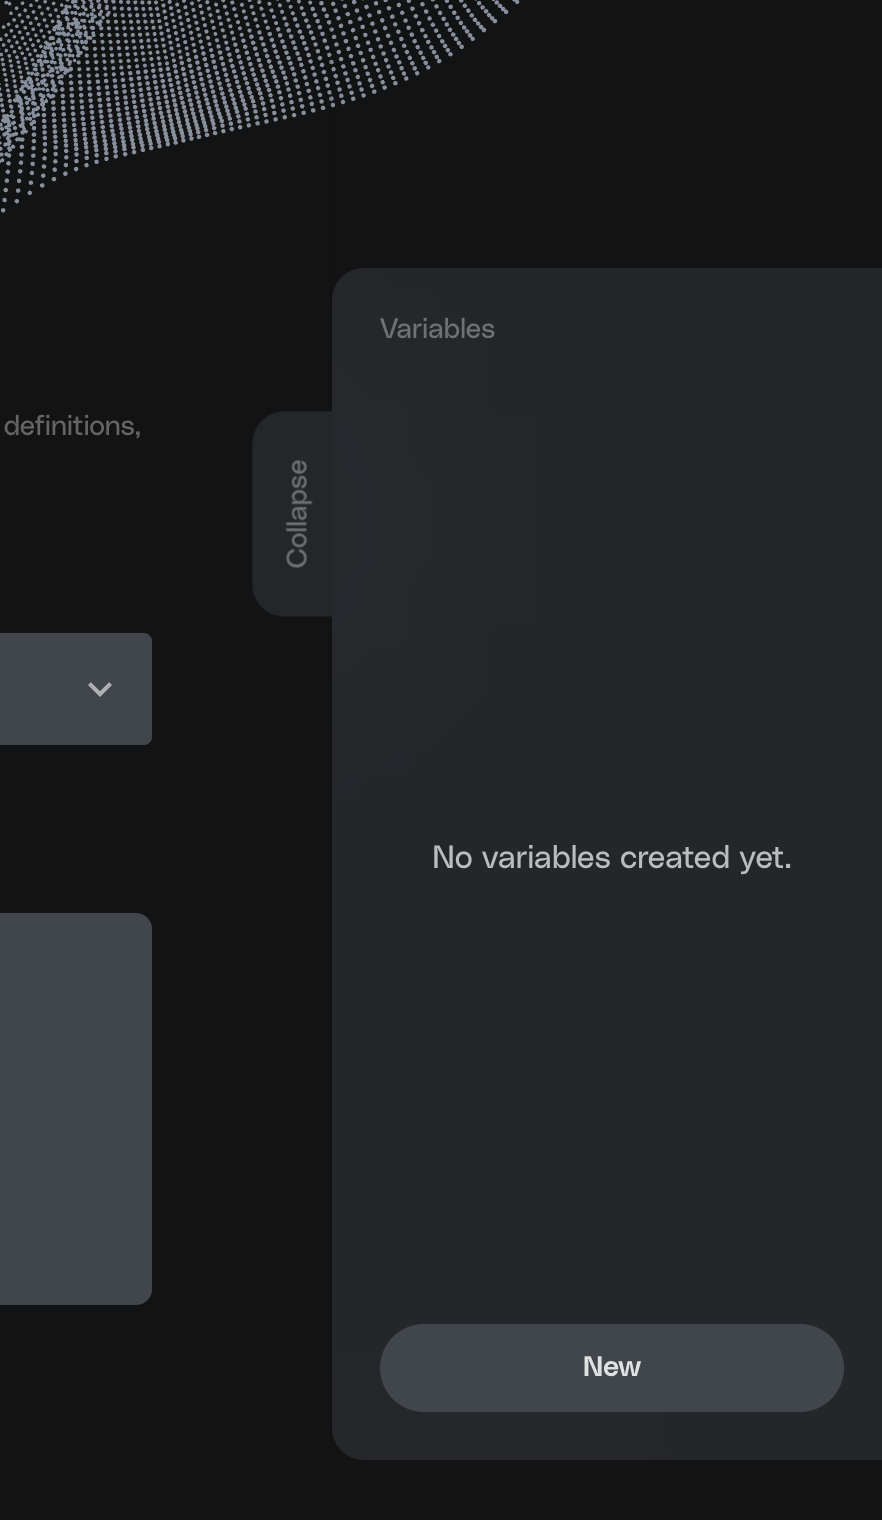
- The collapsible variables menu is located on the right side of the screen. If it is not expanded, click the Variables tab.
-
Click New and select Static to create a static variable.
-
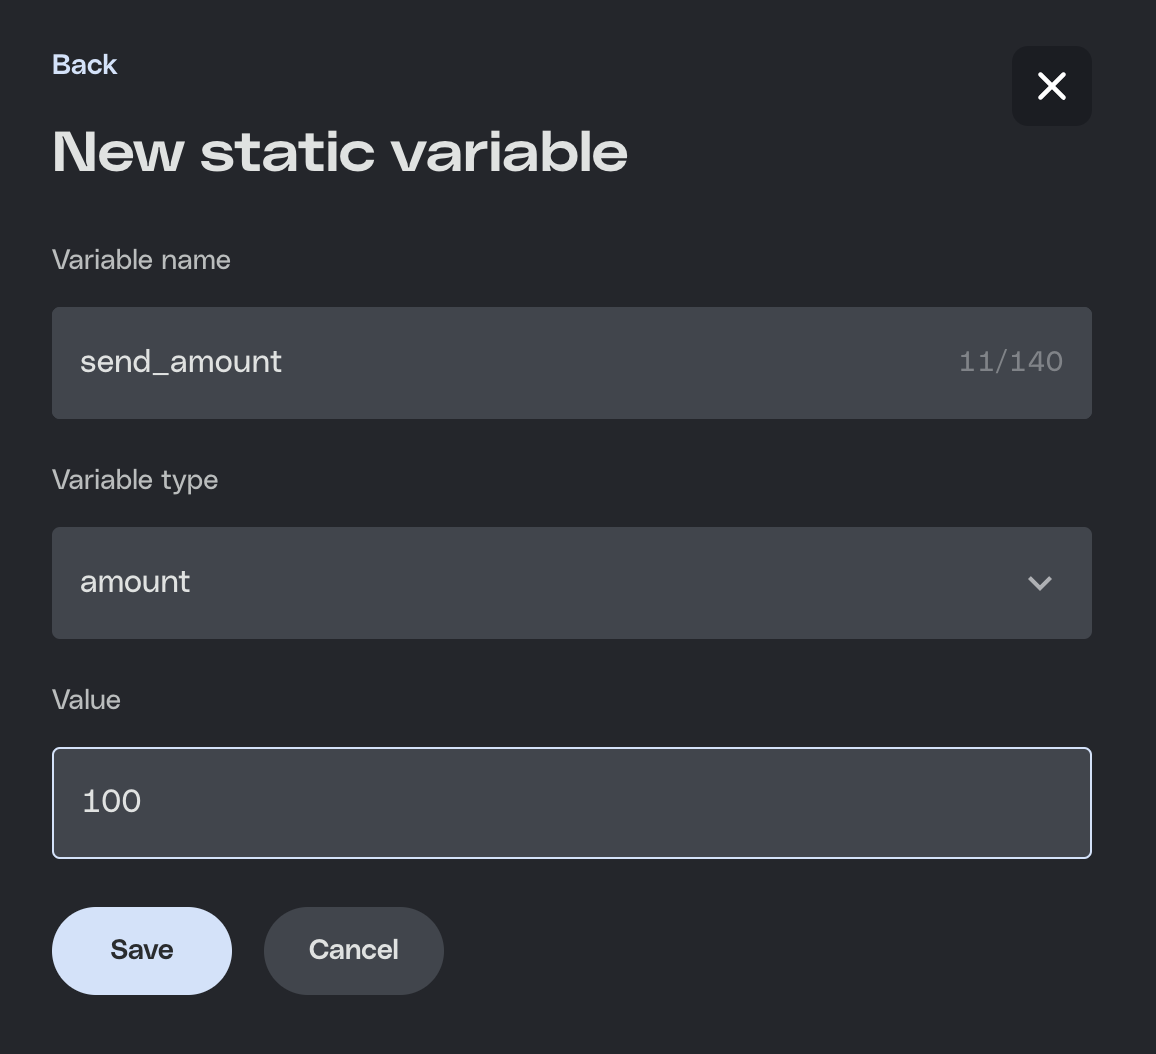
Type
send_amountin the Variable name section. Select amount as the Variable type. For the Value, input100. This value is an arbitrary default amount shown to the user and can be changed later.
-
Click Save.
-
Create another static variable with the name
receive_amount. Select amount as the Variable type. For the Value, input100. -
Click Save.
Now that your variables have been made, continue to the next section to write your template description.
Type the job template
Warp templates offer a human-readable description of the job. This is where you will include your variables.
If you type the { character in the description field, the Warp app will show which variables you have created, and you can select the correct one to input into your description. In descriptions, Warp variables must be surrounded by braces.
Because you are creating a template to swap Luna for Astro, the template description is as follows:
_10Swap {send_amount} $LUNA for {receive_amount} $ASTRO
Where {send_amount} is the amount of Luna you are offering, and {receive_amount} is the amount of Astro you will receive.
After typing the info, continue to the next step.
Input the Job message
Now you can include your job message in the template.
- Select the Message button.
- Copy and paste The following WASM message into the text field. This is the swap message for swapping Luna for Astro.
- In order to input your template variables into the message, you'll need to change the fund amount to the
{send_amount}variable. The format for adding reference values in messages is$warp.variable.variable-name.
In line 27, change 1000000 to $warp.variable.send_amount, then click Save.
Now you can create your condition.
Add the condition
In order for the assets to swap at the desired price, the condition for the swap will be based on a query for the price of the assets. When the {send_amount} of Luna can be swapped for the {receive_amount} of Astro, a keeper will run the job.
To create a condition based on a query, create an integer expression by following the steps below.
- Click Add Condition to open the conditon screen.
-
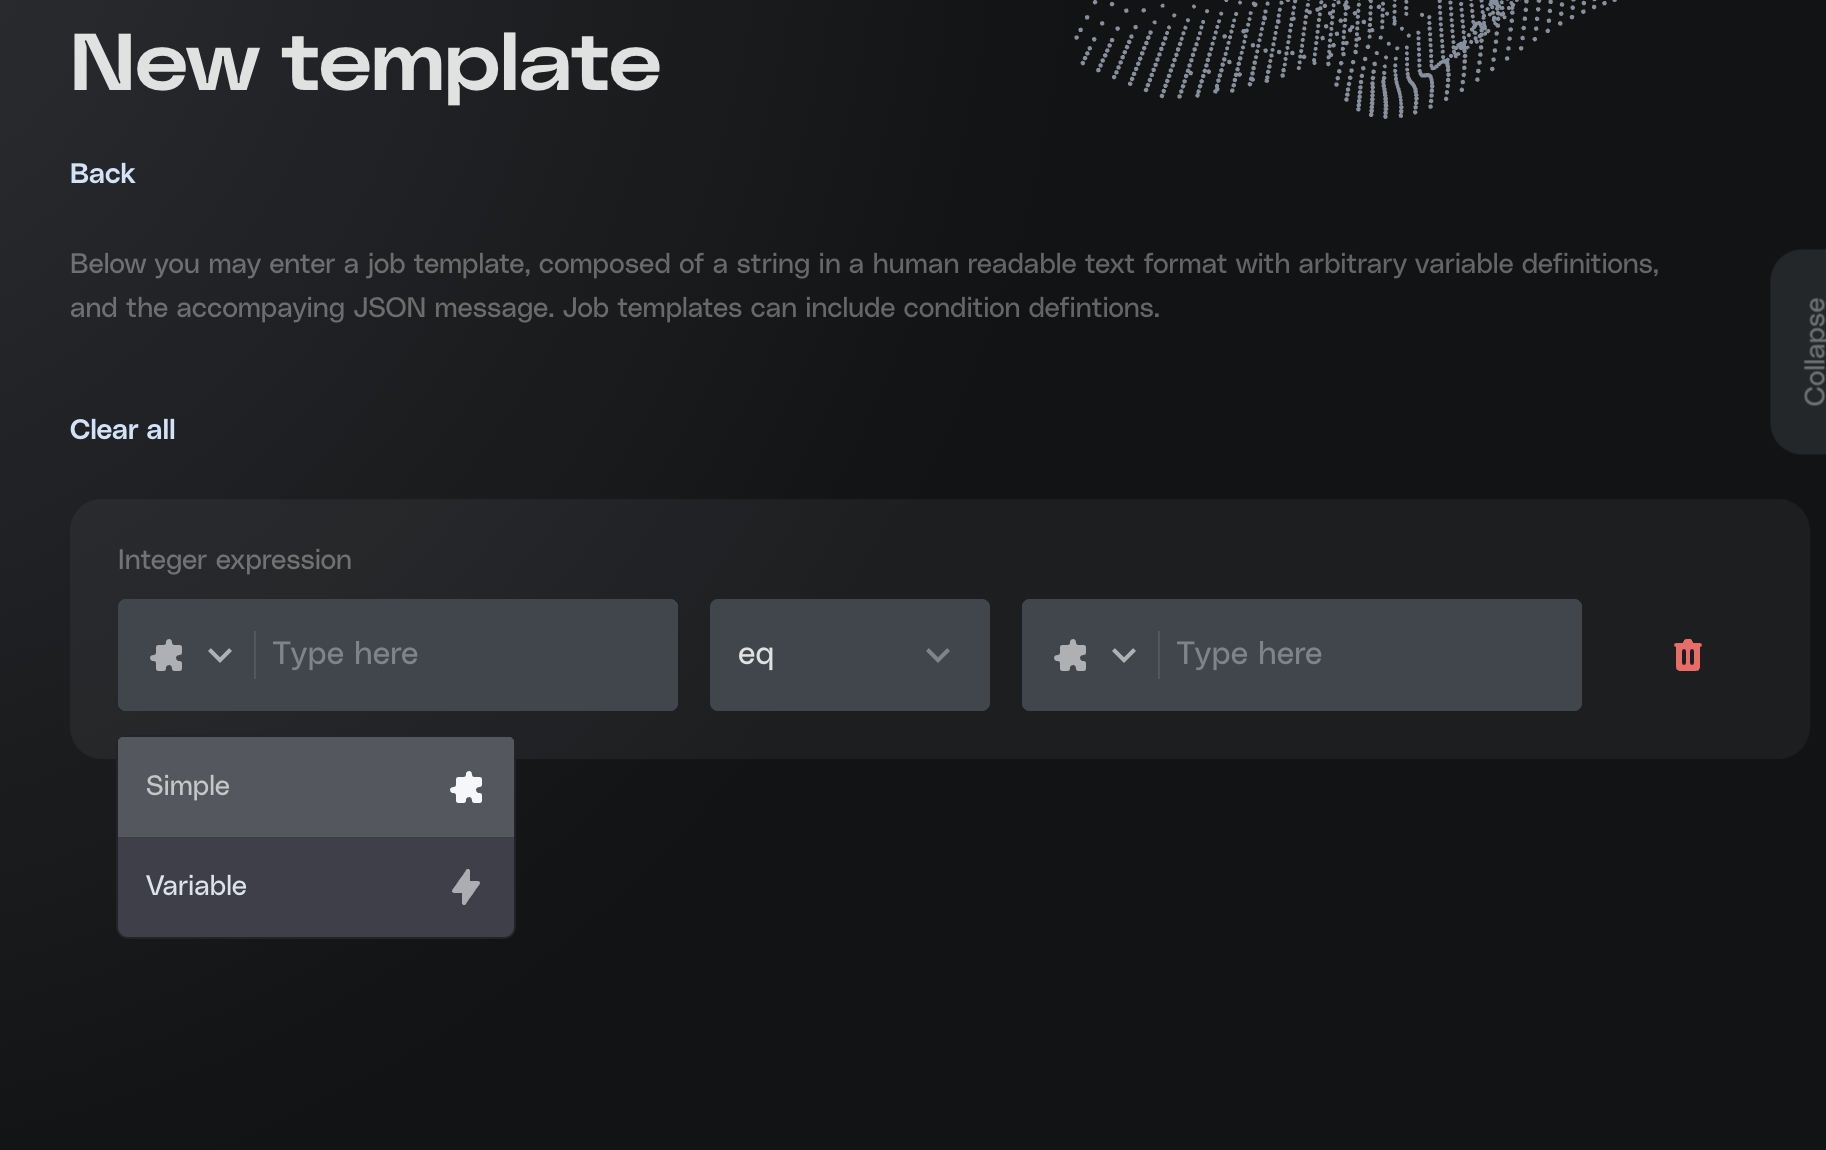
Click the "+" symbol and then click Expression
-
Click Int to create an integer expression.
-
The left side of the expression will be the query. Queries are only available as variables. On the left side of the expression, click the puzzle piece and select Variable.
-
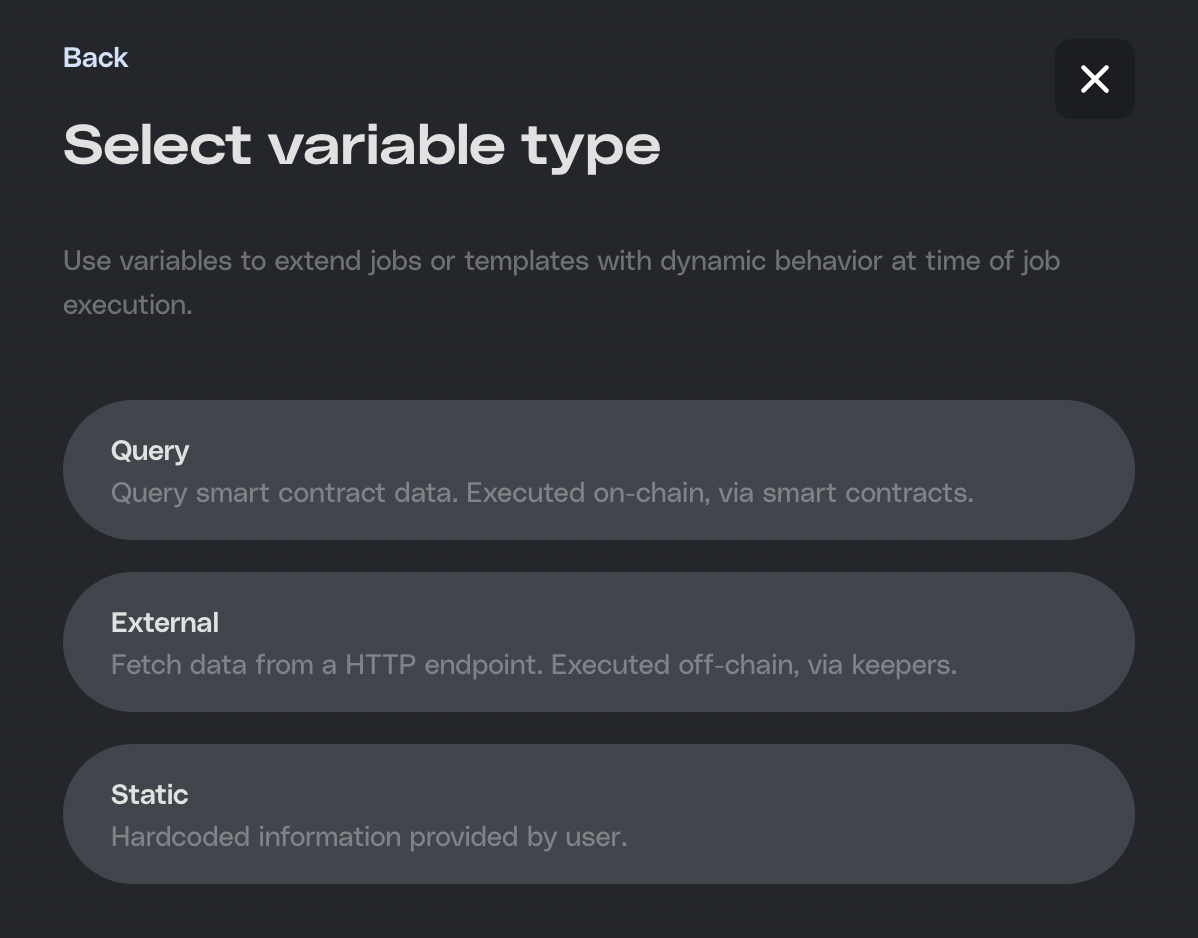
Click New variable and then select Query.
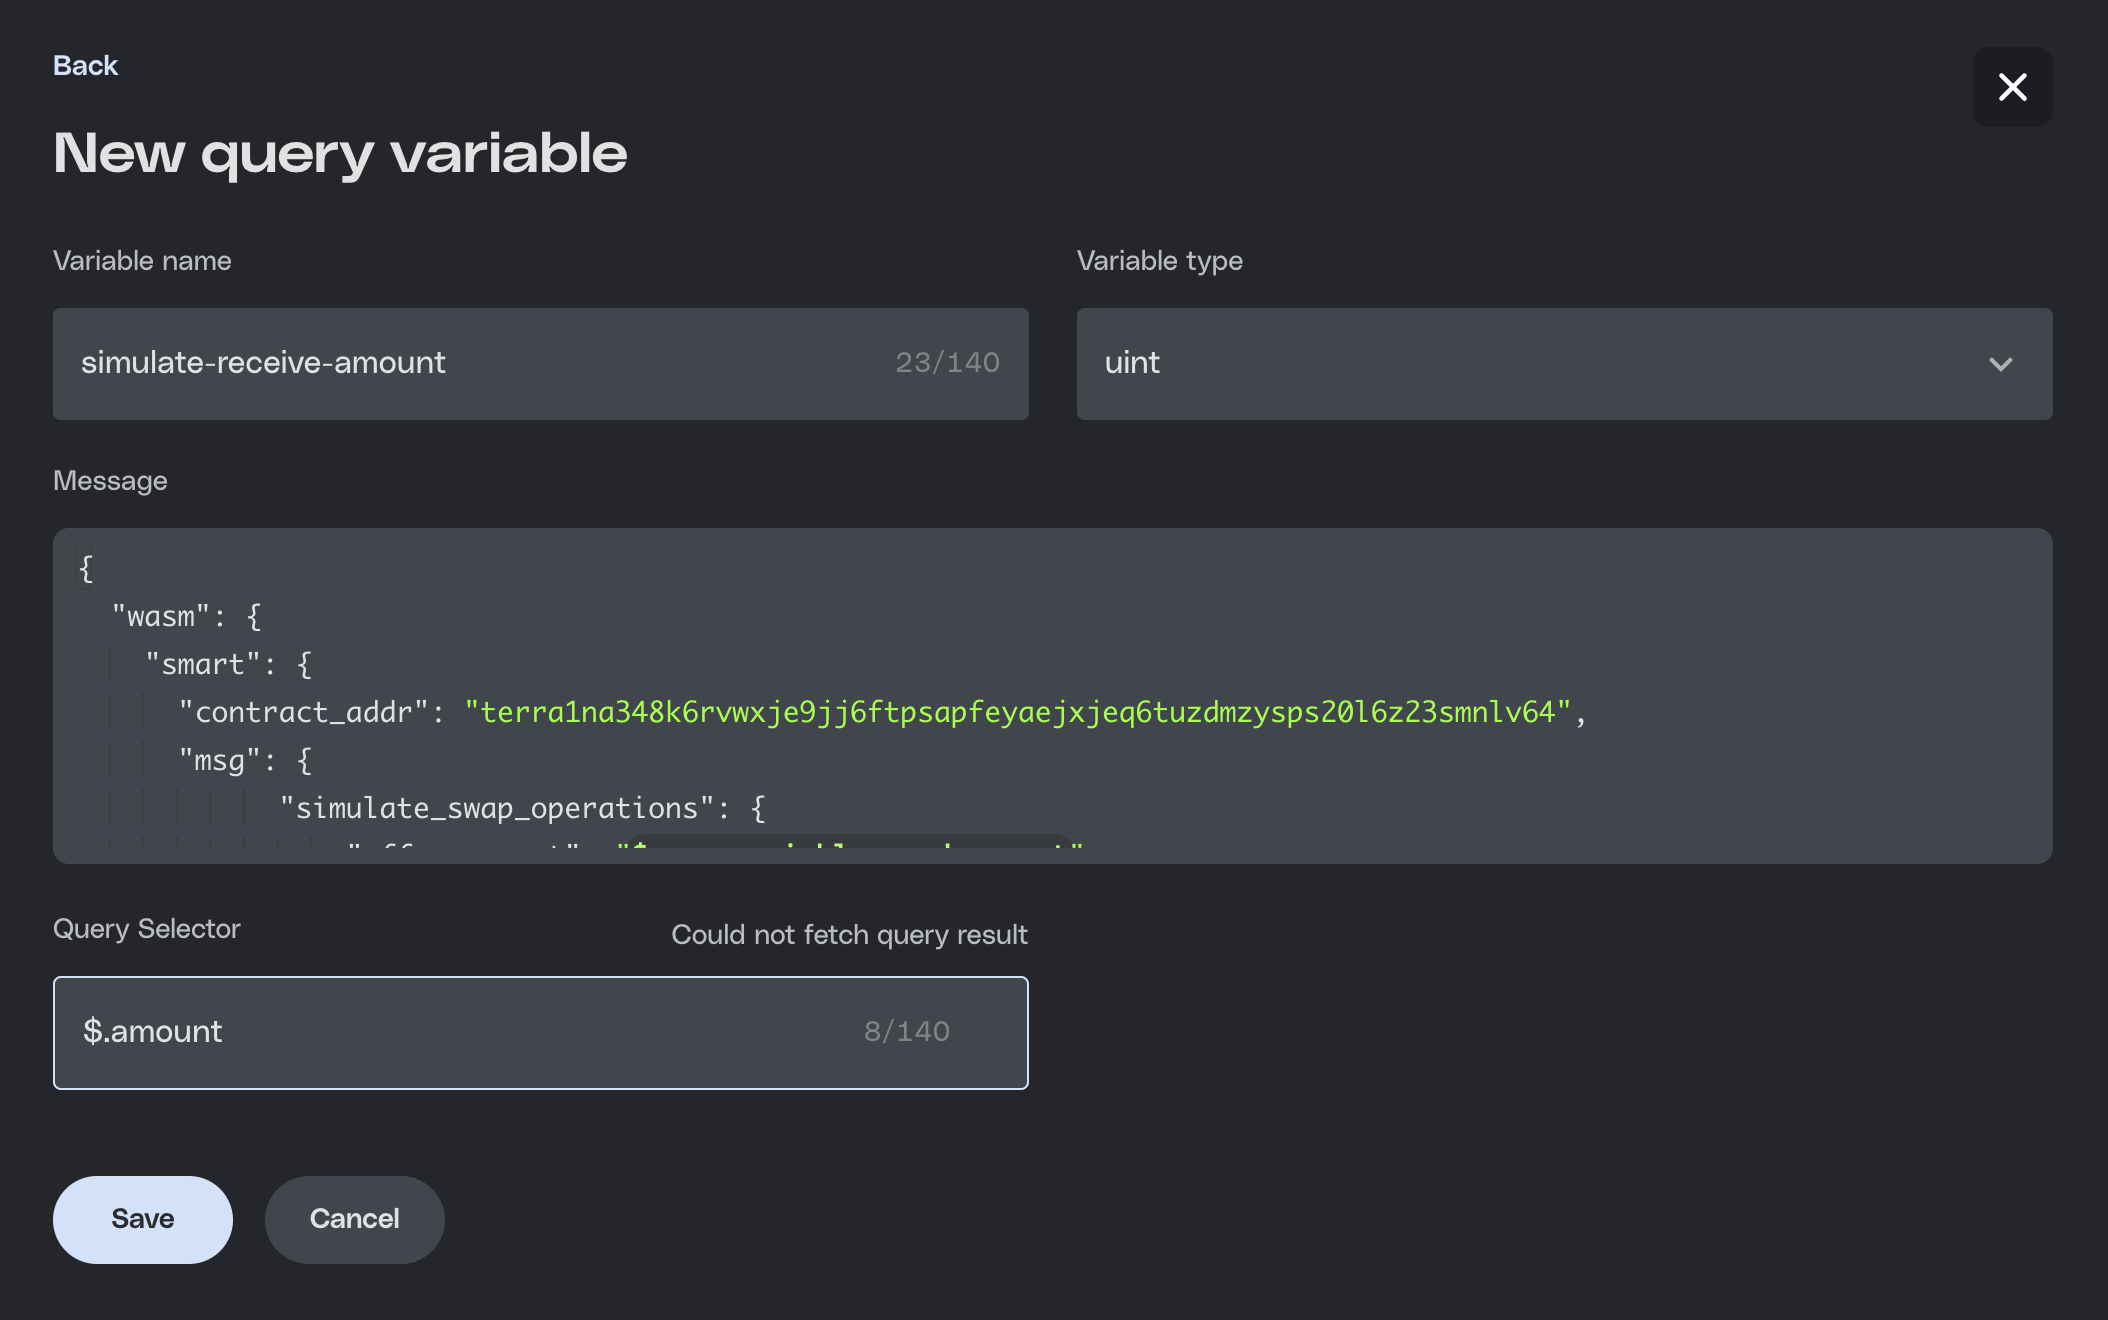
- Name this new variable
simulate-receive-amount. Under Variable type select uint.
- Under Message, copy and paste the following query.
- Like before, you will need to alter the message to input
$warp.variable.send_amountas the offer amount in line 7.
- Under Message, copy and paste the following query.
- Like before, you will need to alter the message to input
$warp.variable.send_amountas the offer amount in line 7.
- In the Query Selector field, input
$.amount. This is the part of the query response you will use in your condition. Click Save.
- Now you can complete your condition. In the middle operator box, select gte, which specifies that the query amount response will be greater than or equal to the right side of the equation.
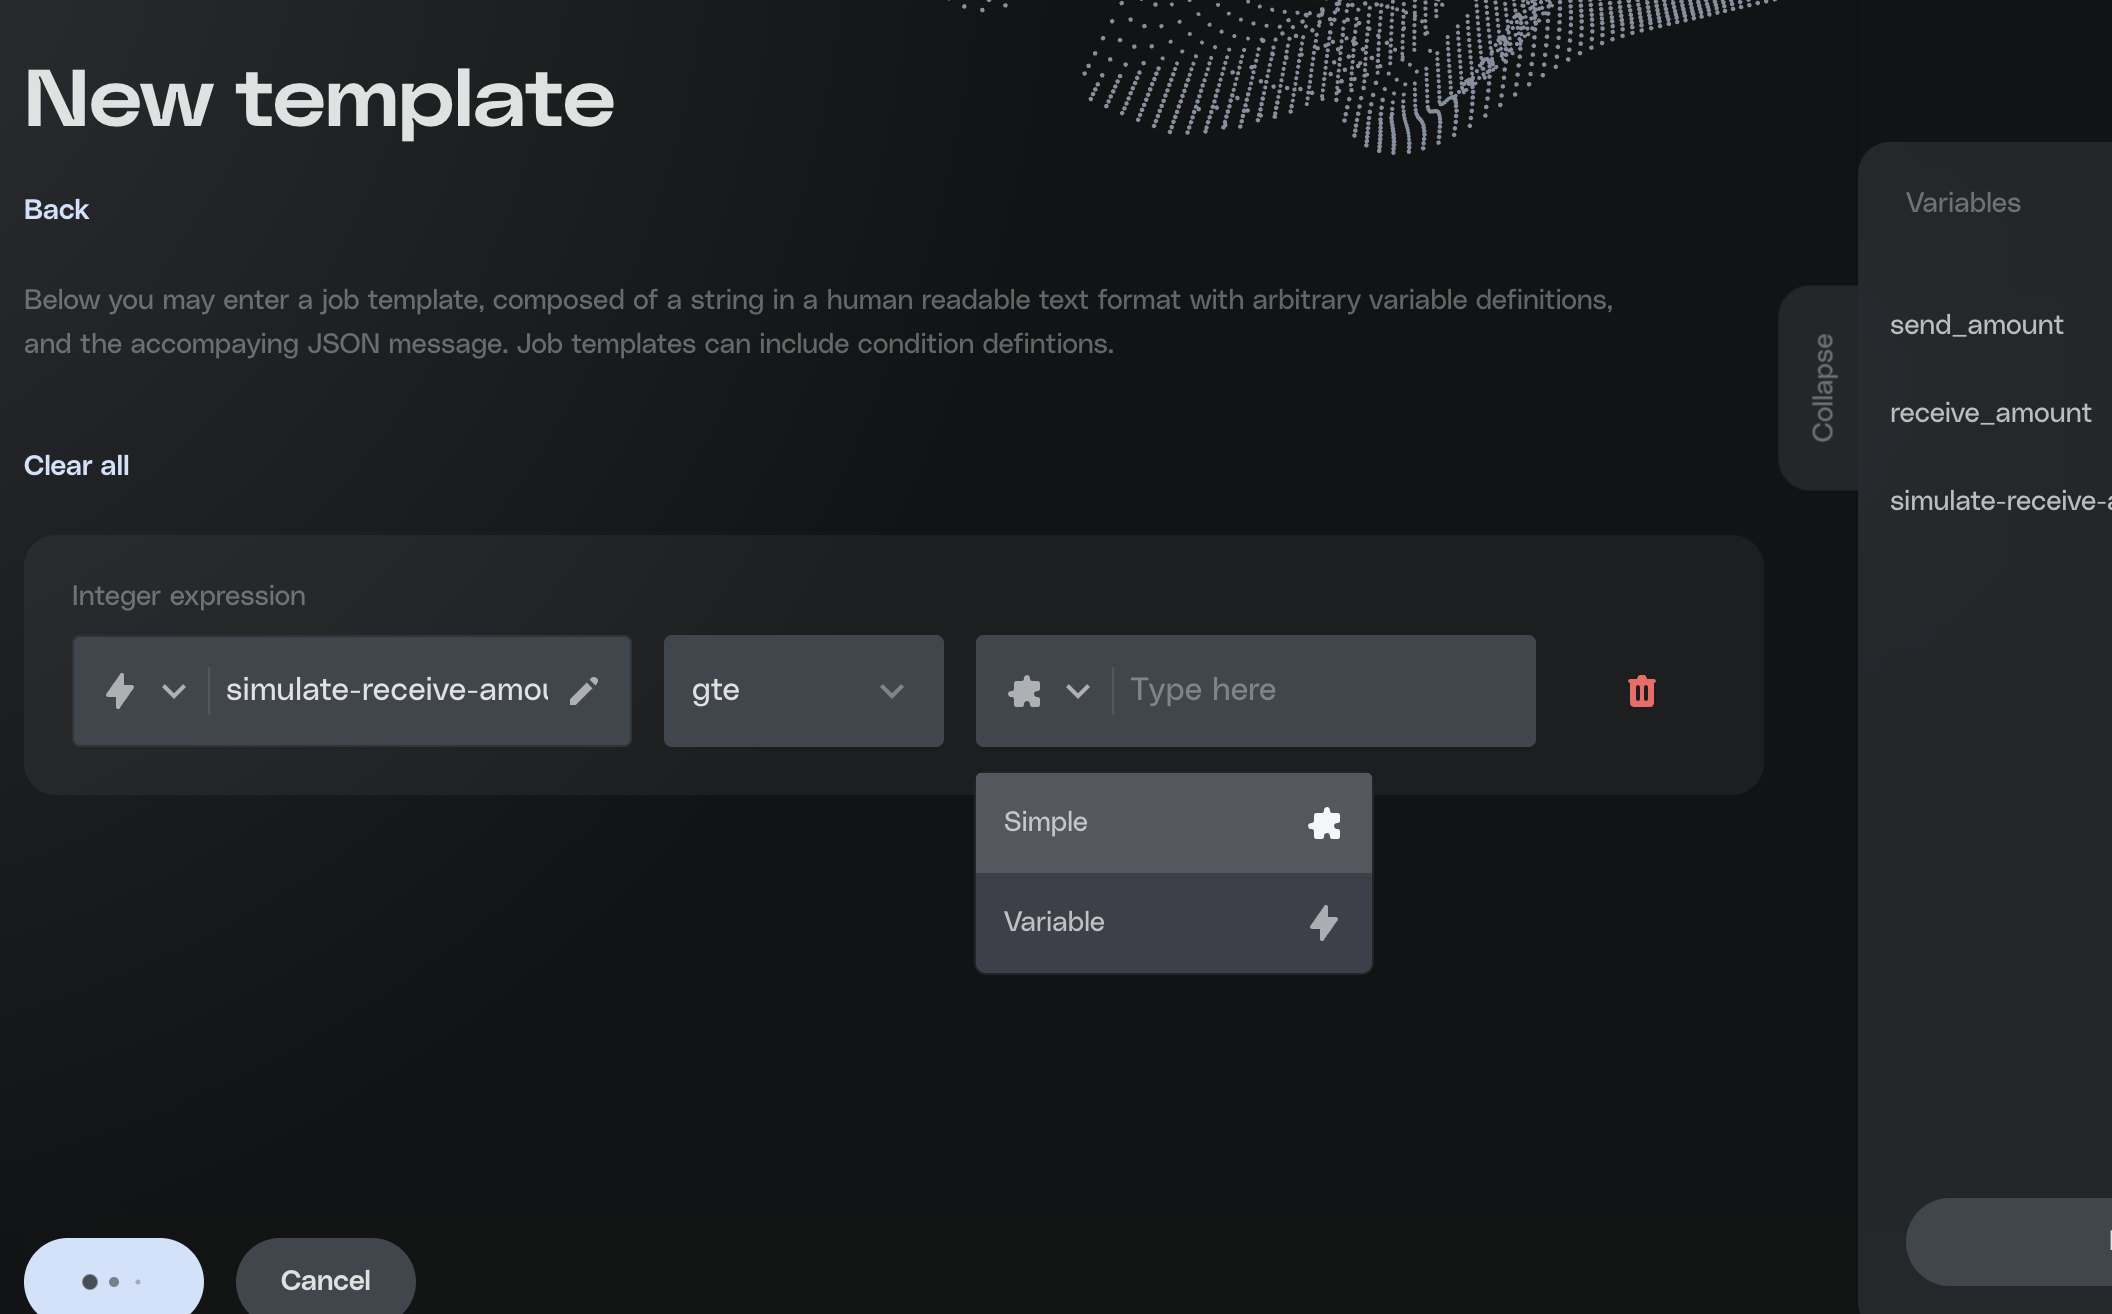
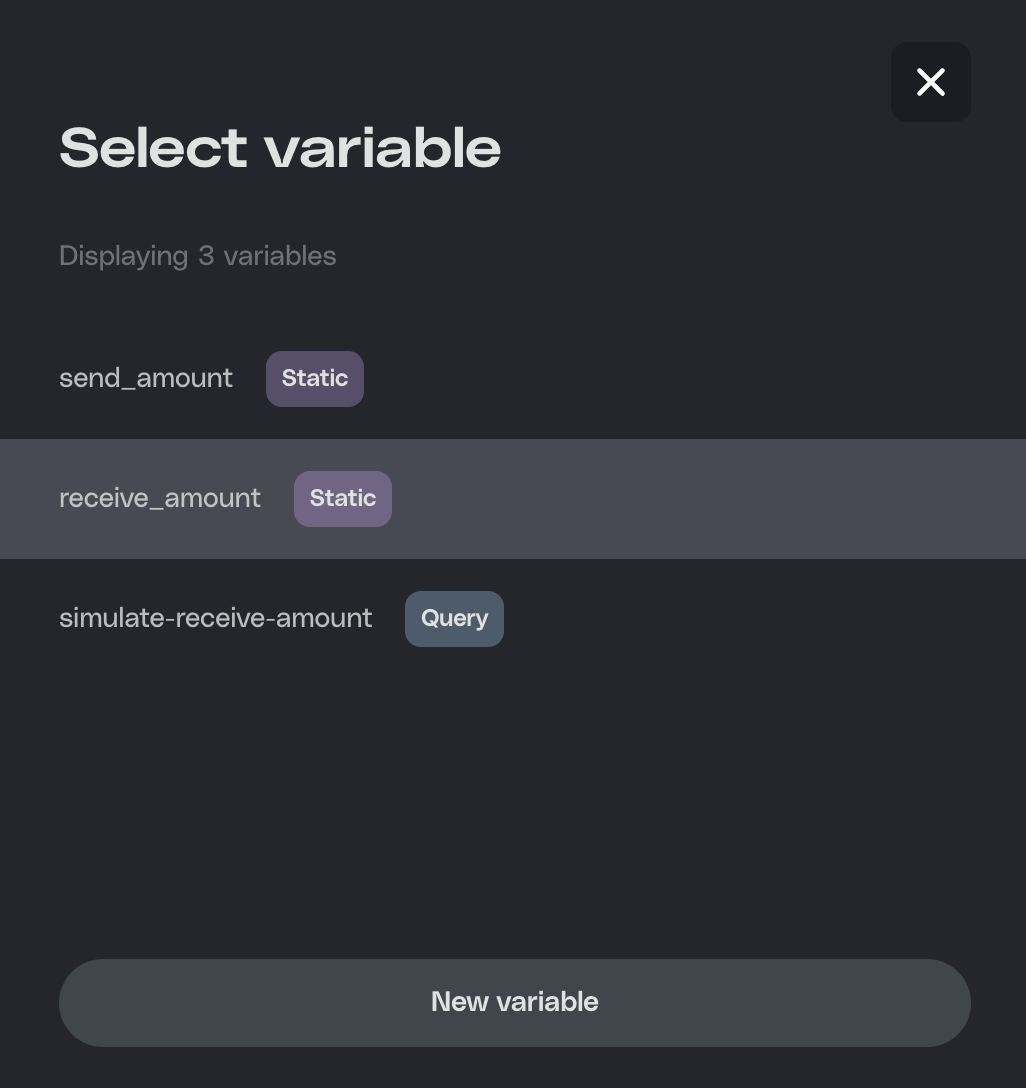
- On the right side of the equation, click the puzzle piece and select Variable. Select the receive_amount variable from earlier.
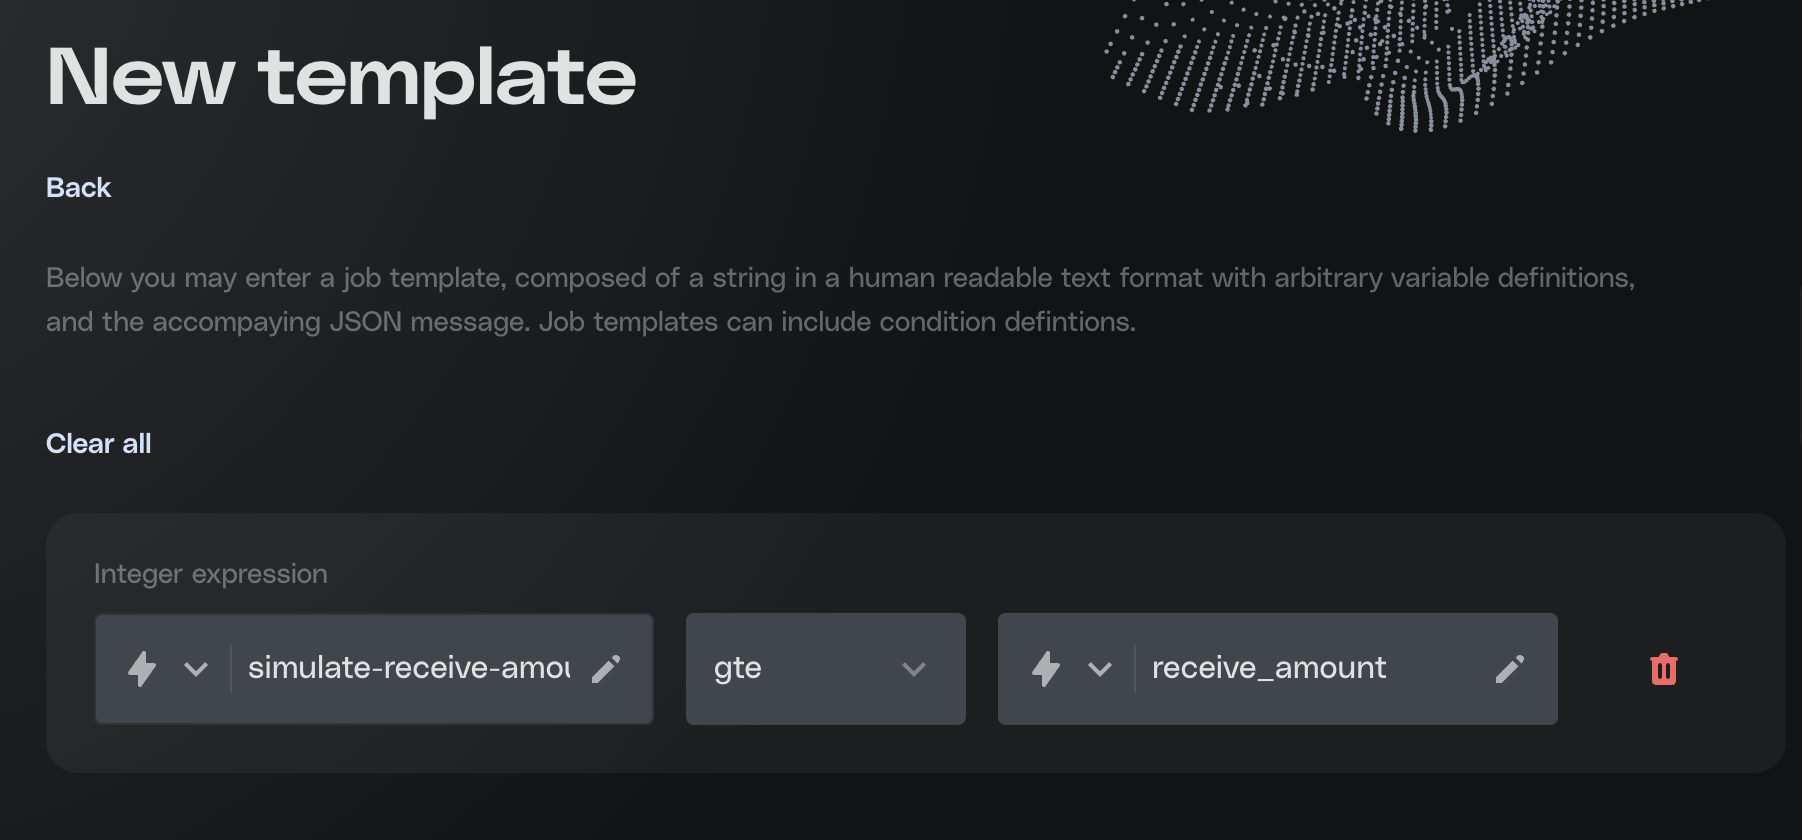
Your finished condition now states that you want the job to execute when the simulated amount of the query is greater than or equal to the amount you wish to receive.
-
Click Save to save the template.
-
Sign and send the template creation message in the Station extension.
Congratulations, your first template is complete! You can use this template by accessing the template menu in the Left navigation bar. Try out your template and swap some testnet Luna!